I've been working my way towards a new glasses case for a little while. I had one more kiss clasp left over from the three I originally bought, and I had purchased some English Paper Piecing (EPP) templates on a whim. Usually I would be true to my frugal self, and print out and hand cut templates if I wanted to try a new style of sewing, but I had just made a good deal, celebrated with a drink and ended up at a quilting shop...you know what happens when you end up at a quilting shop after a drink or two, right? English Paper Piecing templates on a whim!
It took me a while to decide how to use them. I did, after all, buy a rather small size (they were so cute!) measuring 1/2 inch along each side. I ended up putting the templates aside for a bit. Later, I purchased a fat quarter bundle of Arizona, April Rhodes' limited edition collection, because it was beautiful, and it was a LIMITED EDITION. That's basically code for BUY IT NOW! Determined not to let this new acquisition languish in my collection I thought it would be fun to see how all the geometric elements of the collection looked broken down a bit, and have decided that these paper pieced hexagons will be the perfect way to create a panel for my glasses case.
So, here I am showing you some of my process. I'd love to do this more with quilts, but my process tends to be so organic that it's hard to keep track of what I do! This is my first attempt at a good chronicle of my work, and I hope you enjoy following along.
Everyone has a different method of EPPing, and I thought I'd start by sharing mine. With pictures. If you like it, try it. If not, there are plenty of other tutorials out there for you, and I'm sure you'll find one that fits!
For my 1/2 inch templates I initially cut 1.5" squares from each of the fabrics I was going to be using.
It took me a while to decide how to use them. I did, after all, buy a rather small size (they were so cute!) measuring 1/2 inch along each side. I ended up putting the templates aside for a bit. Later, I purchased a fat quarter bundle of Arizona, April Rhodes' limited edition collection, because it was beautiful, and it was a LIMITED EDITION. That's basically code for BUY IT NOW! Determined not to let this new acquisition languish in my collection I thought it would be fun to see how all the geometric elements of the collection looked broken down a bit, and have decided that these paper pieced hexagons will be the perfect way to create a panel for my glasses case.
So, here I am showing you some of my process. I'd love to do this more with quilts, but my process tends to be so organic that it's hard to keep track of what I do! This is my first attempt at a good chronicle of my work, and I hope you enjoy following along.
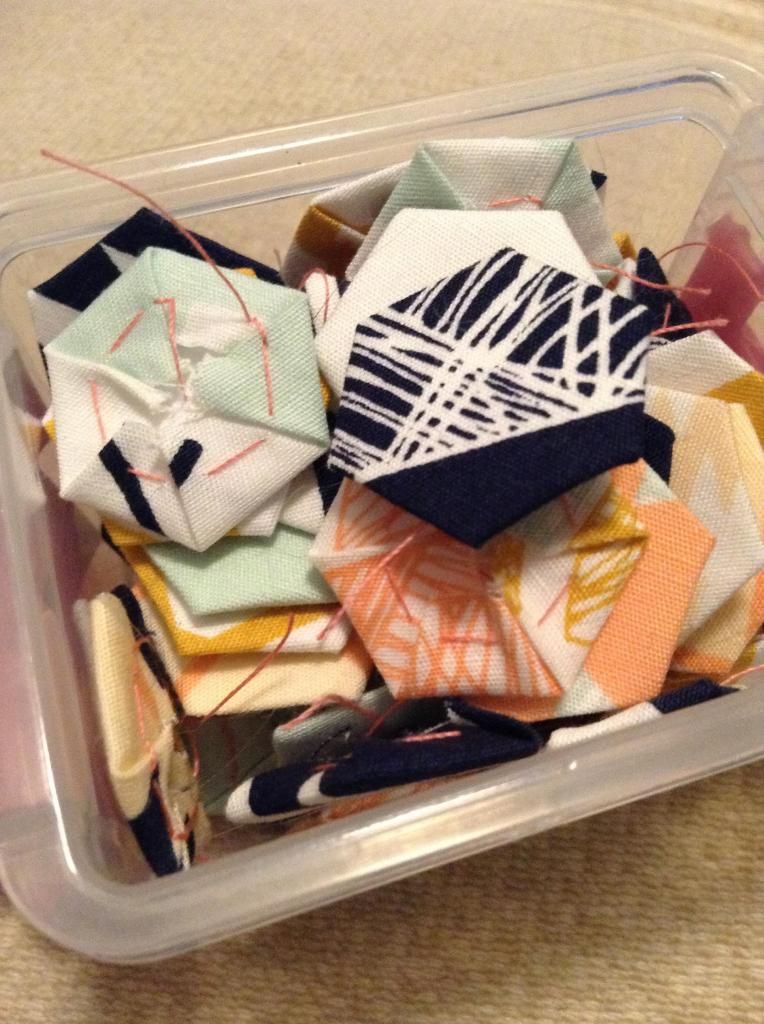 |
| Arizona hexagons, front and back. |
Everyone has a different method of EPPing, and I thought I'd start by sharing mine. With pictures. If you like it, try it. If not, there are plenty of other tutorials out there for you, and I'm sure you'll find one that fits!
For my 1/2 inch templates I initially cut 1.5" squares from each of the fabrics I was going to be using.
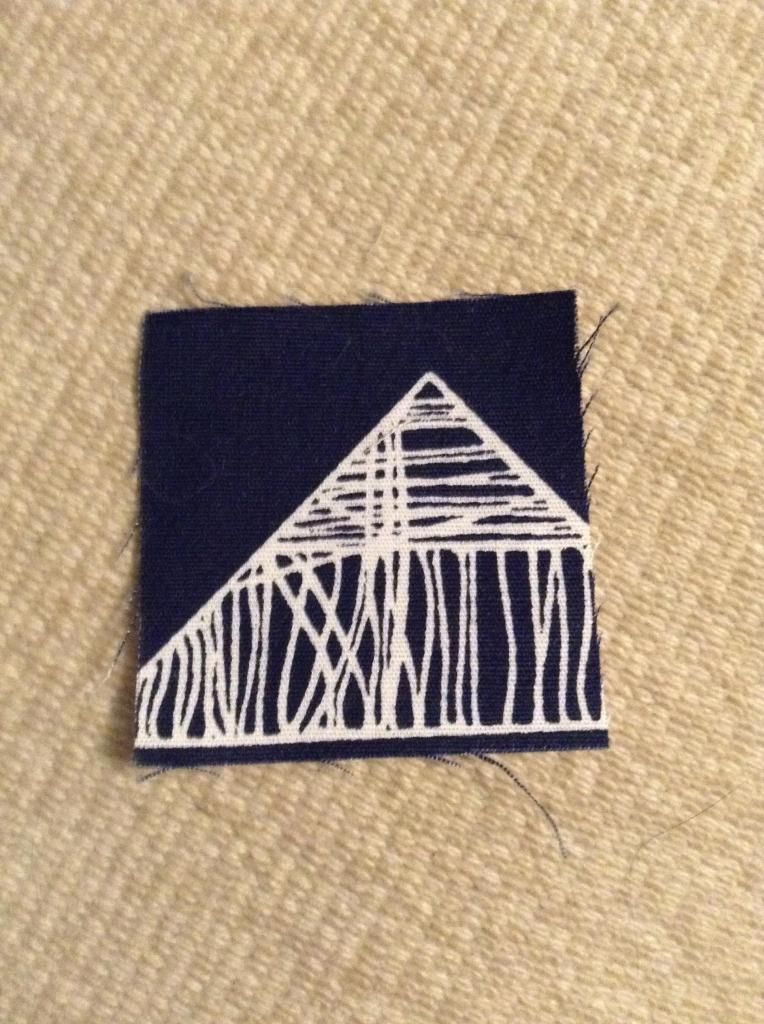 |
| 1.5" square of fabric |
Next I trimmed the corners off. I didn't cut much, just about 1/4" from each corner.
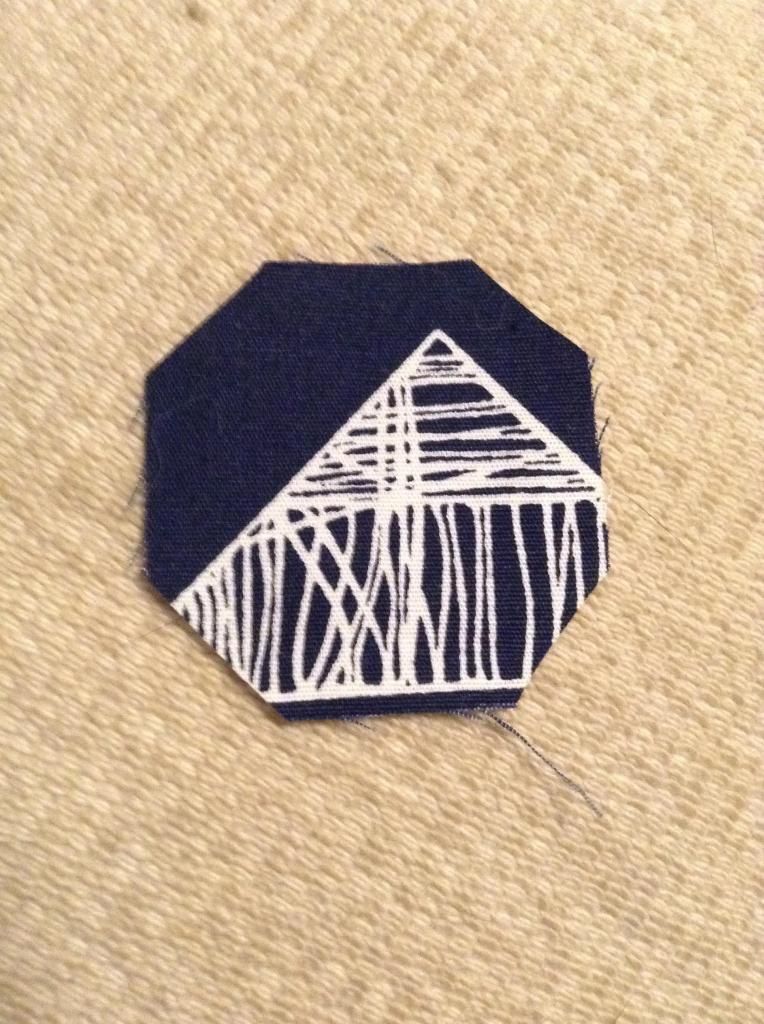 |
| Trimmed fabric. |
You can see here that the fabric better fits the template now. Notice that I didn't actually trim the fabric to a hexagon, I just trimmed off some of the excess.
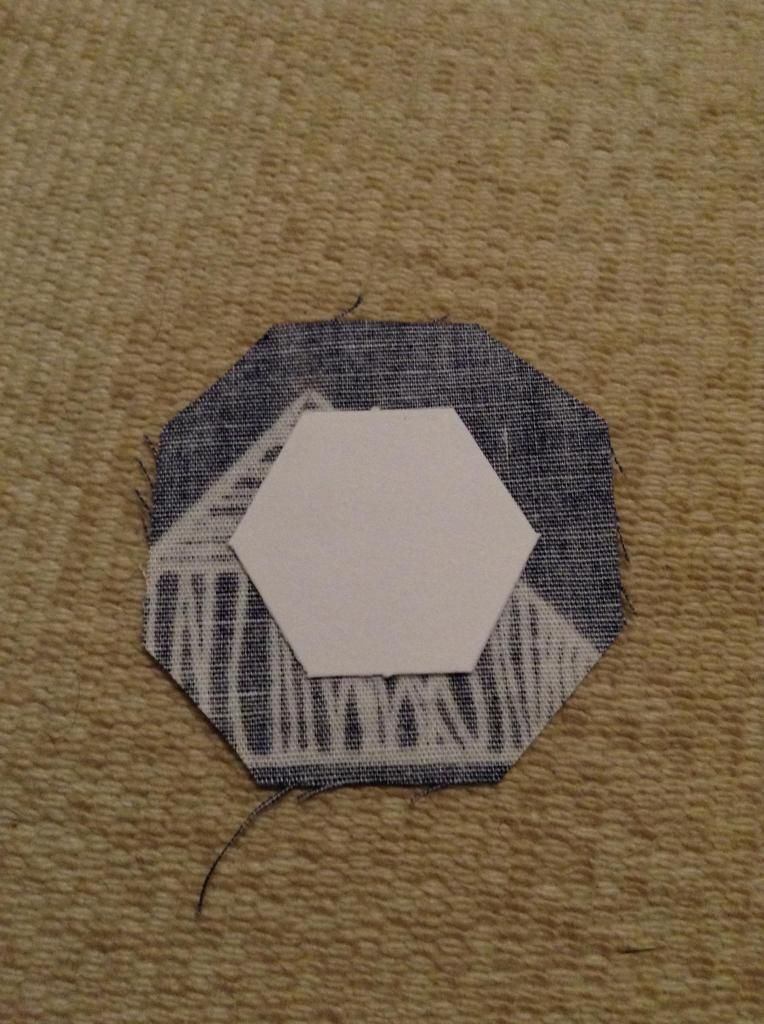 |
| Fabric with template. |
The next step I take is to finger press two of the opposite sides of the fabric. These sides should be parallel to the template. For example, I would finger press the top and bottom sides in the picture above. This helps prevent the template from moving around while basting. Just a note, but when I first heard of finger pressing, I though all you had to do was fold the fabric over with your finger and press! Turns out, you need to fold the fabric over and run the edge of your finger (preferably using your fingernail) along the fold you want pressed, otherwise it's not nearly as effective.
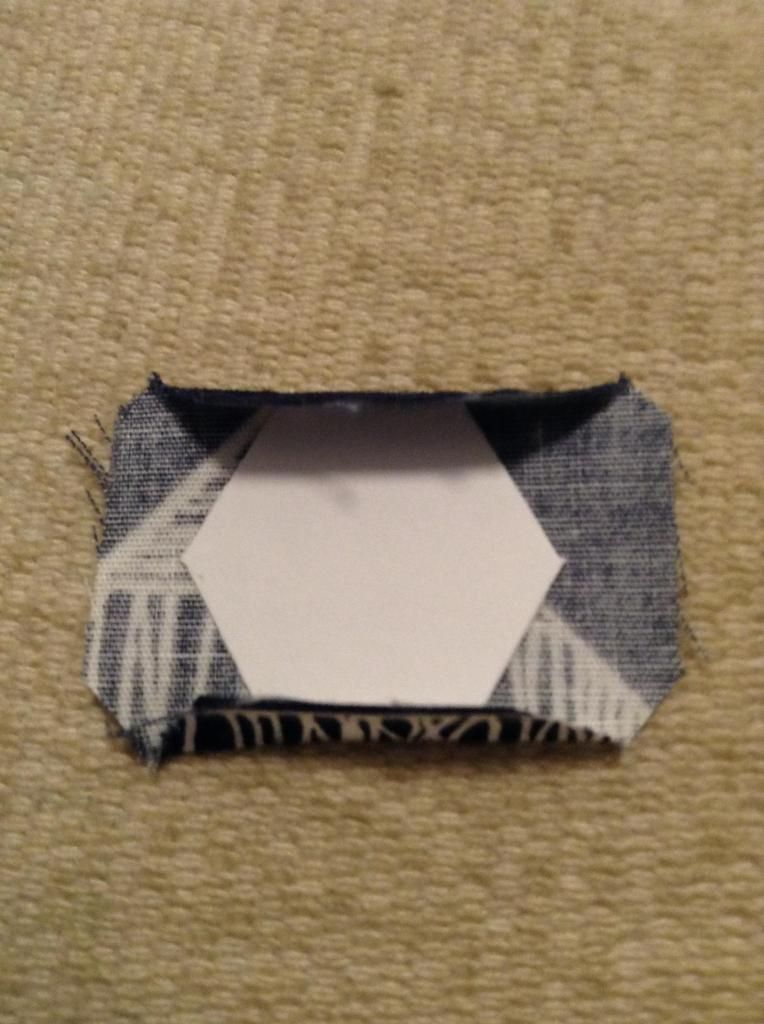 |
| Finger pressed fabric. |
I don't like using knots, because that takes time. When you have to baste 102 little hexagons, you don't want to make 204 knots (one at the start, one at the end). What I do is run the needle through the fabric once leaving about a 1-inch tail, and then once again in the same spot. This holds the thread firmly enough in place that your basting stitches will hold.
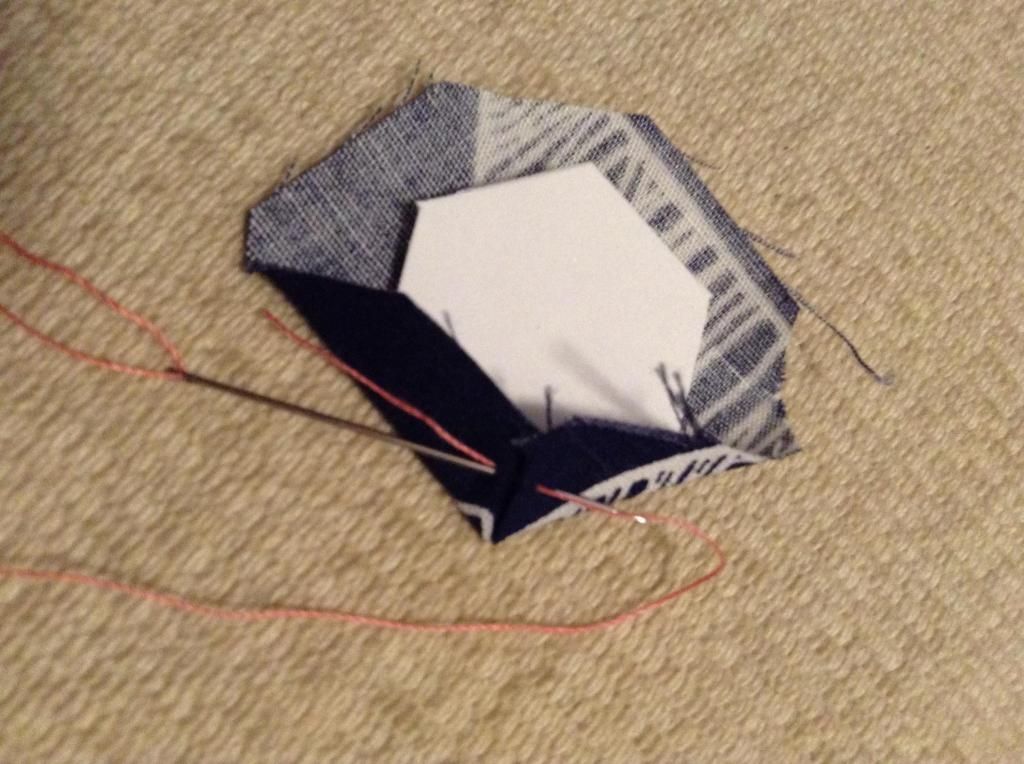 |
| First and second stitch in the same spot. |
After the initial stitches, fold the next edge of the hexagon down. Simply stitch once through the two layers of fabric. I don't go through the stiffer paper template to help prolong it's life. I mean, I may have bought them on a whim, but I want them to last a while!
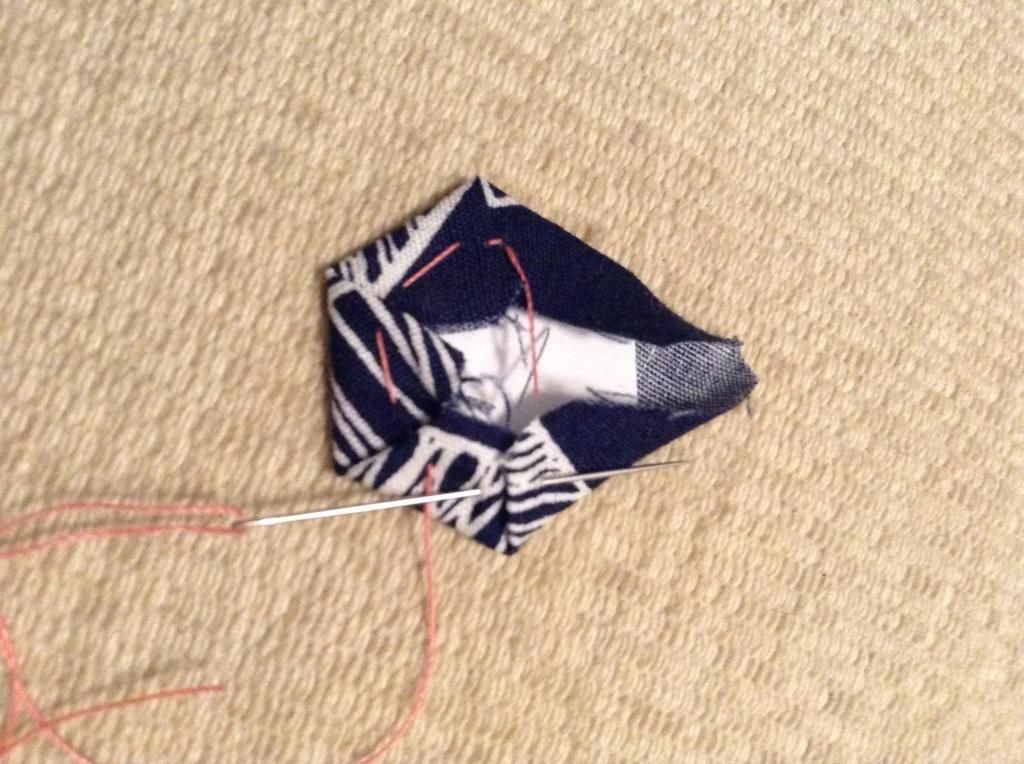 |
| Regular running stitch around the hexagon to secure the fabric. |
Upon arriving at the last fold I repeat the same method used at the start: two stitches to secure the fabric.
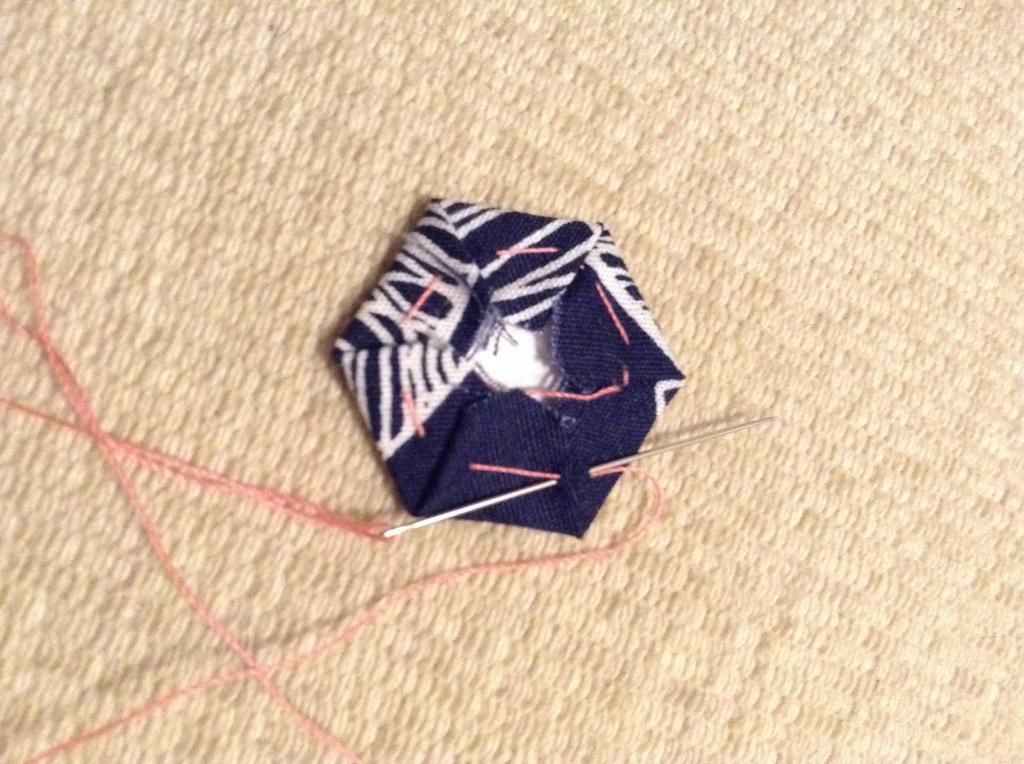 |
| Final stitches to secure the basting threads. |
This method secures the fabric around the hexagon and prepares it for the next step: joining hexagons! It manages to secure the fabric without going through the cardboard, or making multiple knots for each template, which saves time and makes the process more economical. I've got about 25 more to go, and then I'll show you how I join my hexagons. I'm going to use a ladder stitch, which is virtually invisible, and super easy to do.


I've just been converted to glue basting ... the papers are easy to remove later and you can reuse them ... but there is the added expense of the glue pen. Needle and thread are definitely cheaper :)
ReplyDeleteNicely done. I didn't like sewing through the paper either on the few times I tried this.
ReplyDeleteI've never tried paper piecing but it's on my long list of things to do. I think having a handwork project will be great for cold winter evenings. Thanks for sharing your process; I can't wait to see how you join the pieces.
ReplyDeleteI started some EPP hexies but I haven't touched them for a few weeks (I stopped after I got a cold and didn't want to do anything). I need to get back to it! i don't plan to join them together yet but I look forward to seeing your technique, as it' something I'll be doing eventually!
ReplyDeleteI'm usually a stab right through it baster but I will give this a try! Looks like a much better way to tackle them.
ReplyDelete