I'm moving right along with my paper piecing project. I thought I had all the hexagons basted, but turns out I think I need more than I initially calculated to make the panels bigger for the project I've got in mind. In the meantime, I thought I'd show how I attach the hexagons, and then how I attach the rows to make a panel. Plus I just painted my nails, so I figured I should take advantage of them before they get all chipped and I don't want to show them in the pictures!
When I connect the hexagons I use a ladder stitch. The thread moves back and forth between the fabrics, creating a ladder shape. Because the stitches are concealed by the fabric creases it makes the join nearly invisible.
I think I just got ahead of myself. First I take two of my basted hexagons.
When I connect the hexagons I use a ladder stitch. The thread moves back and forth between the fabrics, creating a ladder shape. Because the stitches are concealed by the fabric creases it makes the join nearly invisible.
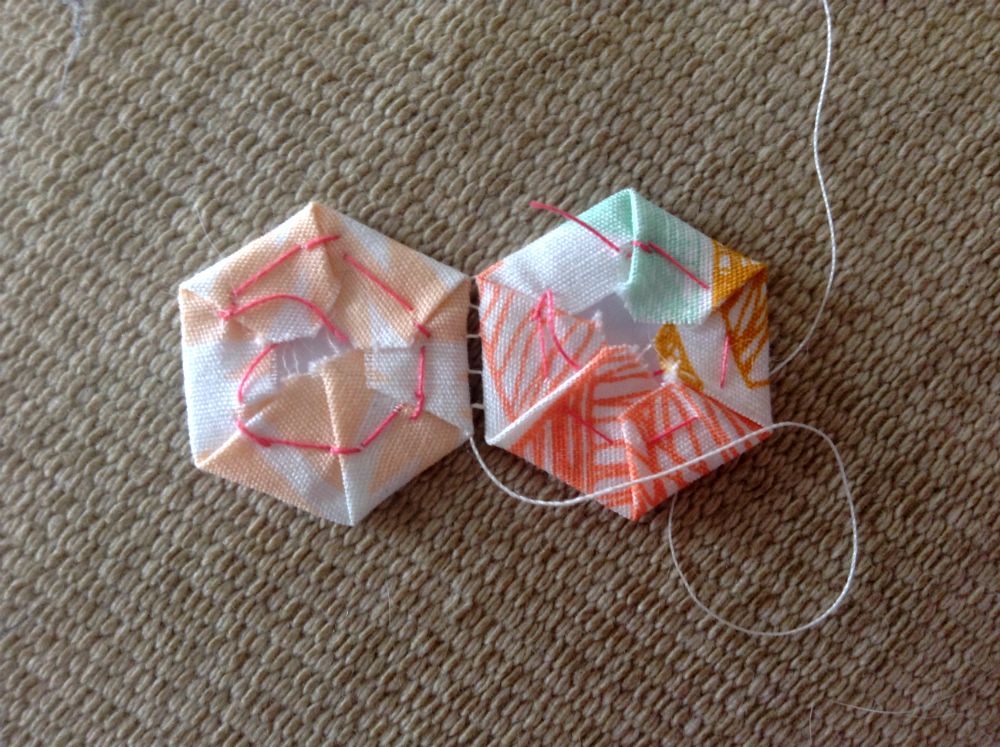 |
| Look at the 'ladder' the thread makes between the two hexagons! |
I think I just got ahead of myself. First I take two of my basted hexagons.
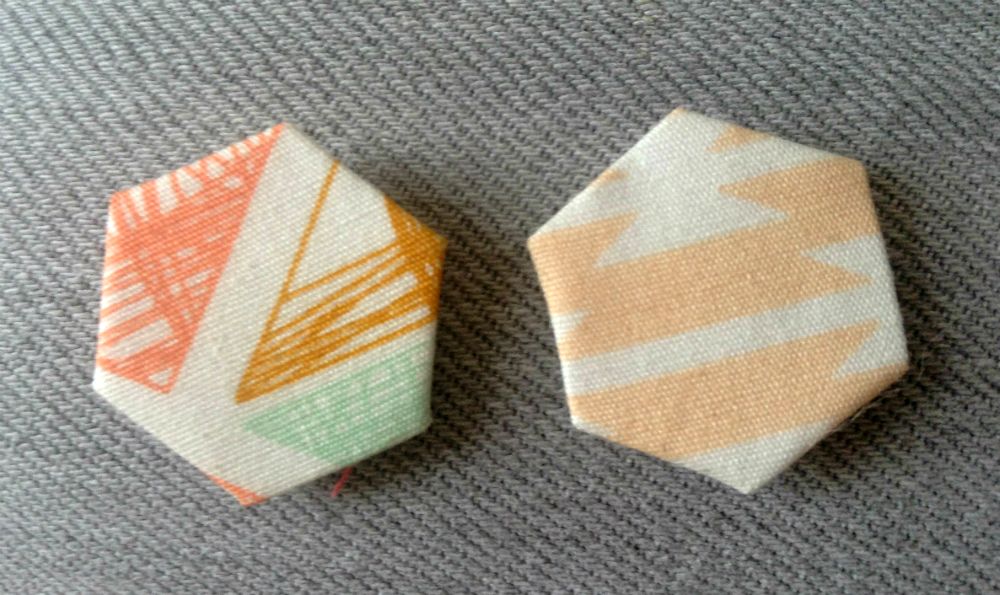 |
| 2 basted hexagons. |
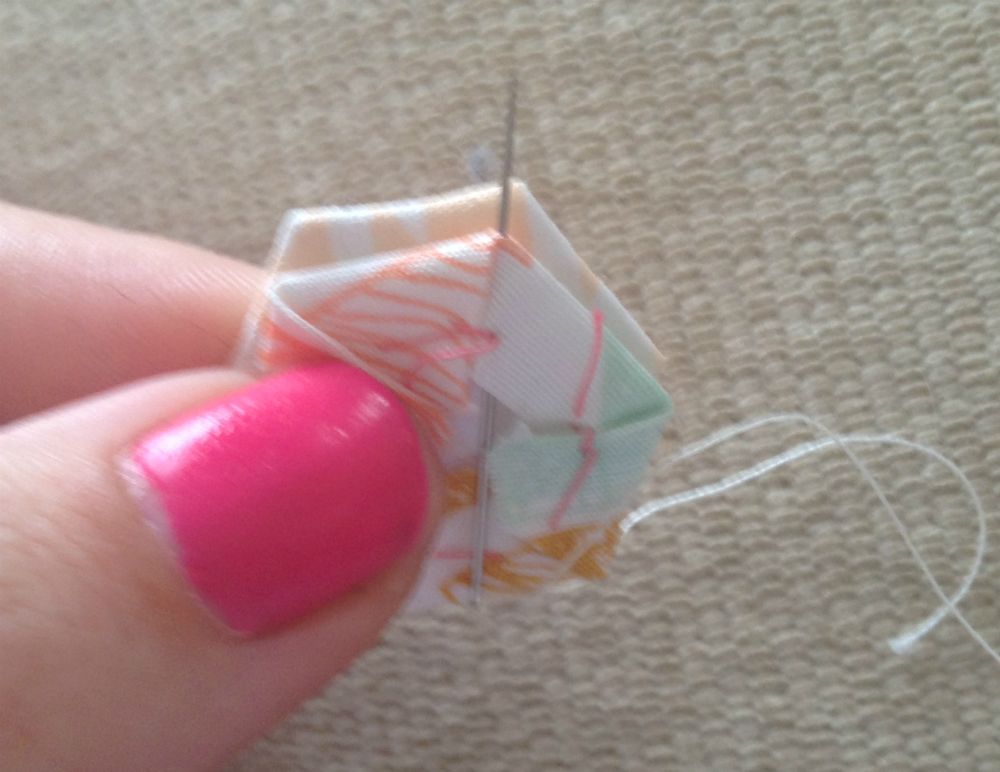 |
| My blurry starting point. I swiveled them a bit so you can see they are right sides together. When sewing you'll see they are lined up right next to each other. |
For the first stitch I insert the needle into the other hexagon, through the right corner and run it along the fold about 1/4 or 1/8th of an inch. These are 1/2 inch hexagons, so I'm using smaller stitches. For a larger hexagon you could use a larger stitch.
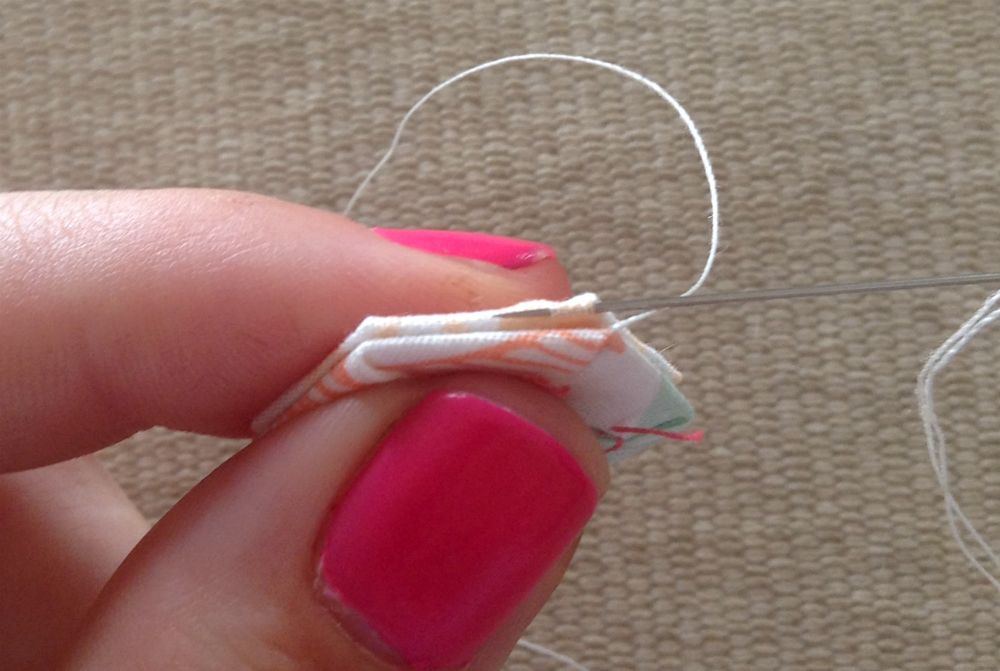 |
| Insert needle and run it along the folded fabric a little ways before coming out of the same fabric. |
For the next stitch, you want to do the same thing back on that first hexagon. Enter at a parallel point in the new hexagon from where you left the old one. I've highlighted this in the picture below. You can see the exit point illustrated with the finger in the image, and the entering point illustrated with the pink and blue arrow.
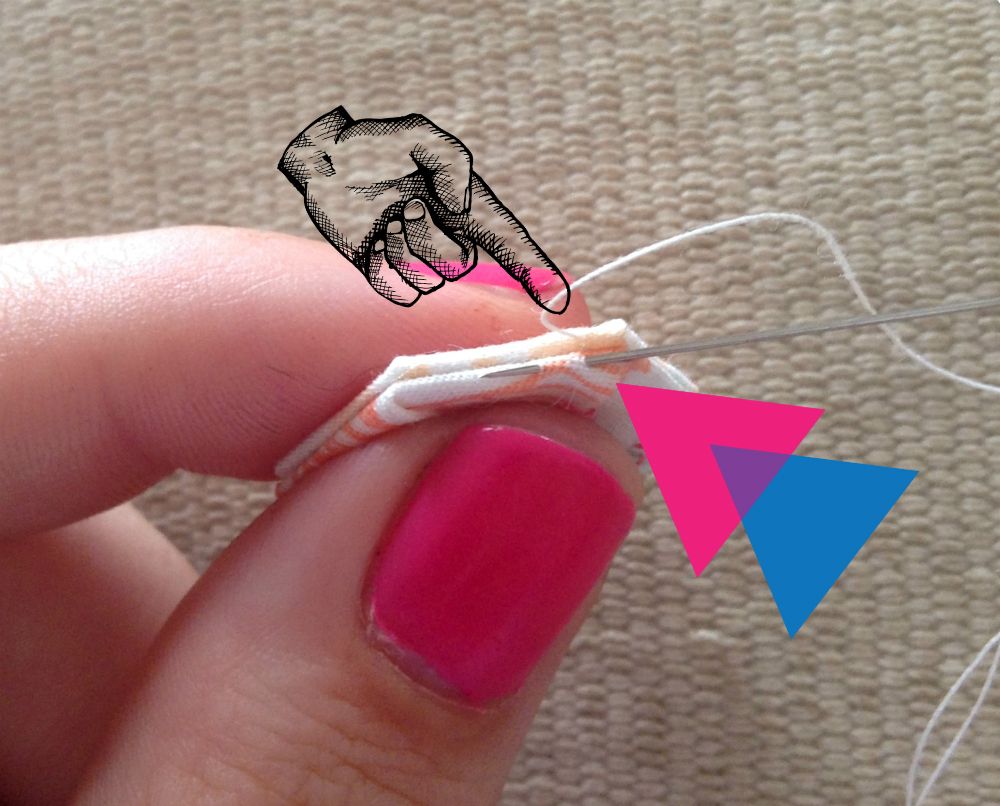 |
| finger = exiting old stitch; triangles = entering new stitch |
You will continue in this fashion until you reach the end of the side. For the final stitch I just do a back stitch in whichever hexagon I DID NOT put the last ladder stitch. Then I knot and cut the thread and start the process over again adding the next hexagon.
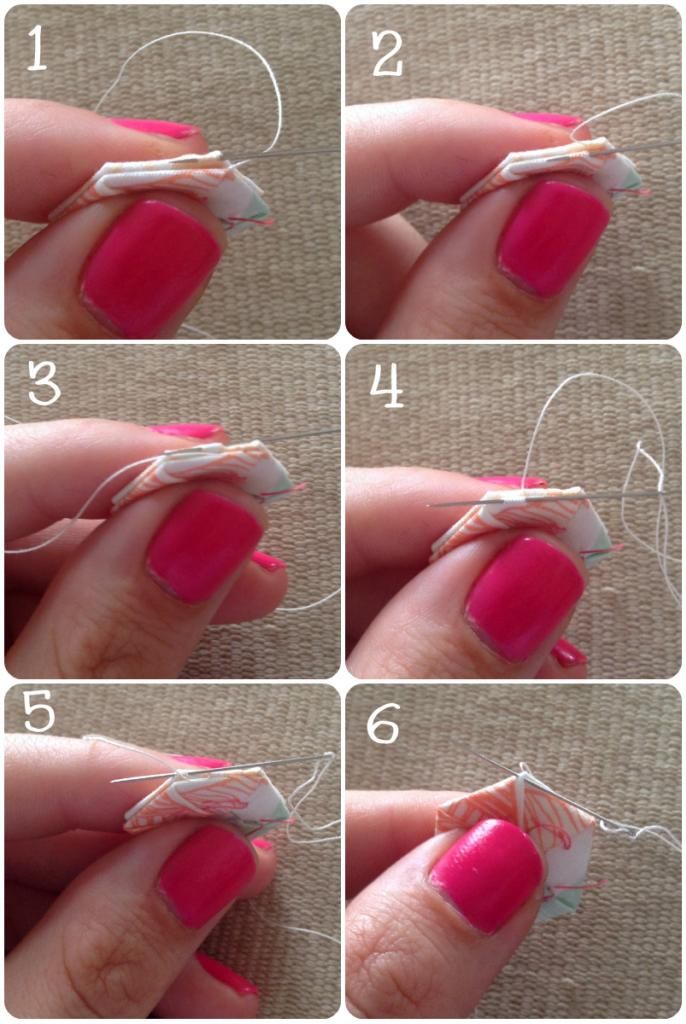 |
| Sewing the hexagons together. |
I'm sewing my hexagons into rows, and then sewing the rows together. I'll show how I do that in my next tutorial post.
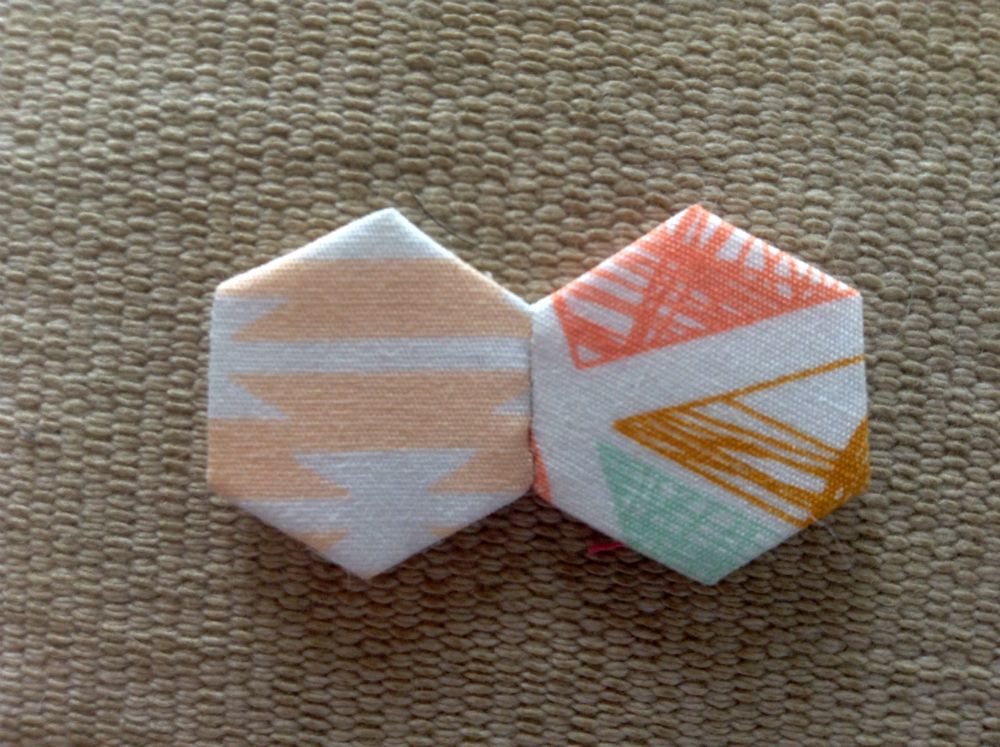 |
| Conjoined hexagons! |
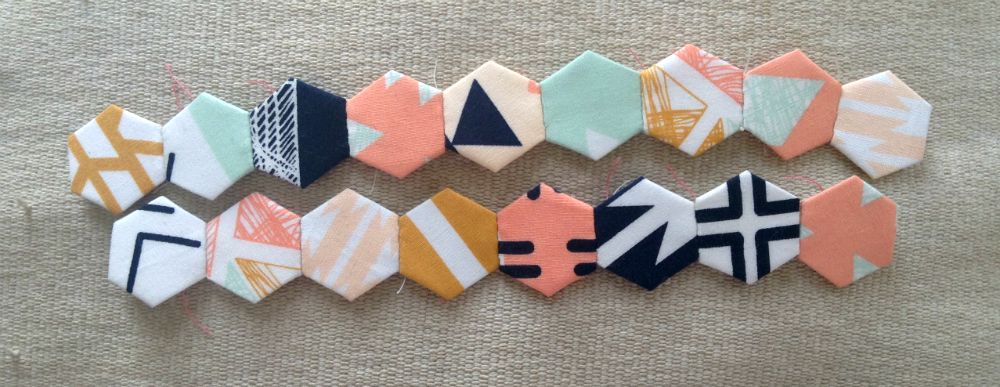 |
| Rows of hexagons. I like how graphic Arizona looks using this method. |


Nice photography and description. I think the Arizona prints look so much different in your hexies, but in a great way. :)
ReplyDeletepinned this so I can come back to it when I start joining my hexies!
ReplyDeleteI sew hexies like this too! I love that the stitches are so neat (& nearly invisible)!
ReplyDeleteReally love your method, so much neater than y usual whipstitch way of doing it!
ReplyDeleteGreat nails! {smile}
ReplyDeleteI use this same method is so much clearer than using a whipstitch :) What are you making??
ReplyDeleteLooking good! If I ever do EPP I'm using same method like you :) Looks really nice and neat!
ReplyDelete