When last I left you I had created rows of hexagons. I thought I'd show how I join those rows, because sometimes the idea of manhandling all those carefully basted hexagons can be intimidating. Don't worry, it's pretty difficult to 'ruin' them!
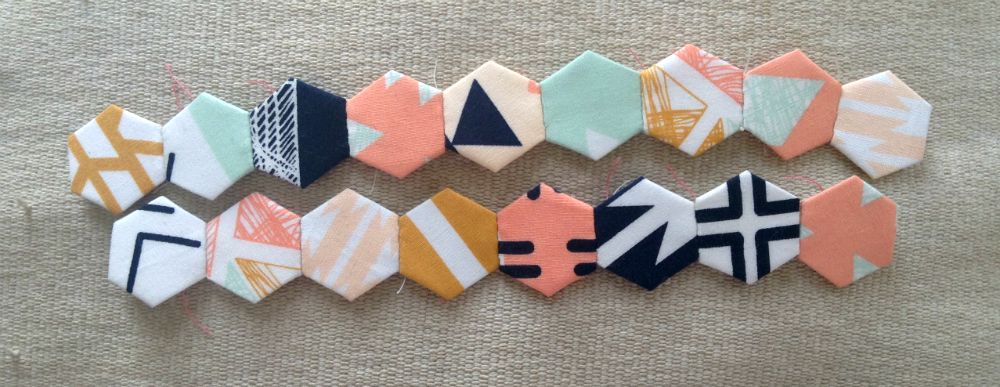 |
| Starting point. Two rows. |
I sew each row together continuously. The first step to this process is aligning your first seam segment. For the rows I've got pictured, you're going to want to flip the top row over so you've got right sides together, and rotate the rows so you've got the edges you want to start sewing aligned correctly.
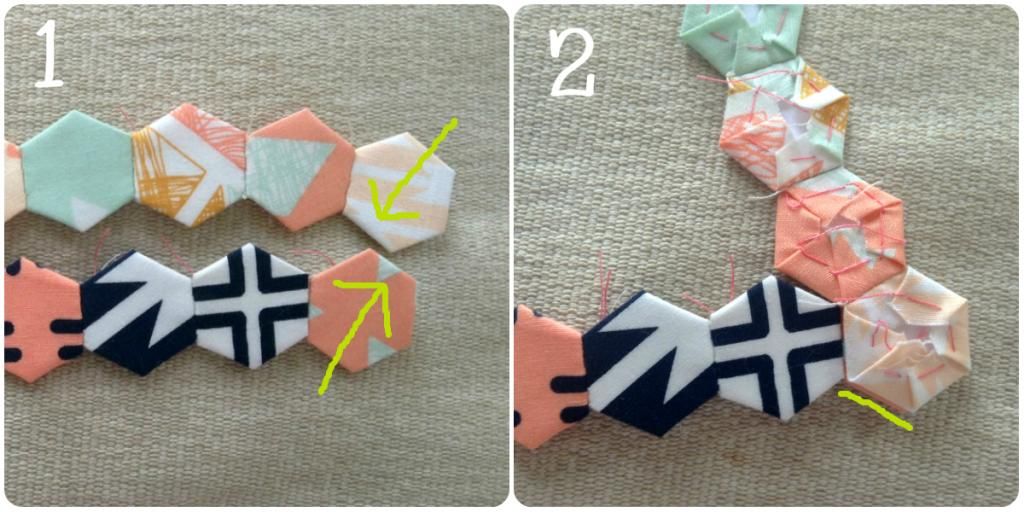 |
| Arrows show where we will start joining the rows, so where we want to align in the first image, and you can see how the rows are flipped and rotated to meet this objective in the second image. |
I sew this first segment just like I sewed the individual hexagons together, except I don't knot the thread at the end, I just do a backstitch to help reinforce my stitches. Image 2 below shows the seam I stitched with the solid white line, and the seam I'm going to move to with the dashed white line. How do I do this? I need to bend that first hexagon. In image 3 you can see where it's going to bend with the pink dashed line. Image 4 shows the rows aligned (with a bent hexagon) as I'm sewing that next seam. I haven't removed the paper, I keep them in as long as possible to add stability as I work along the row.
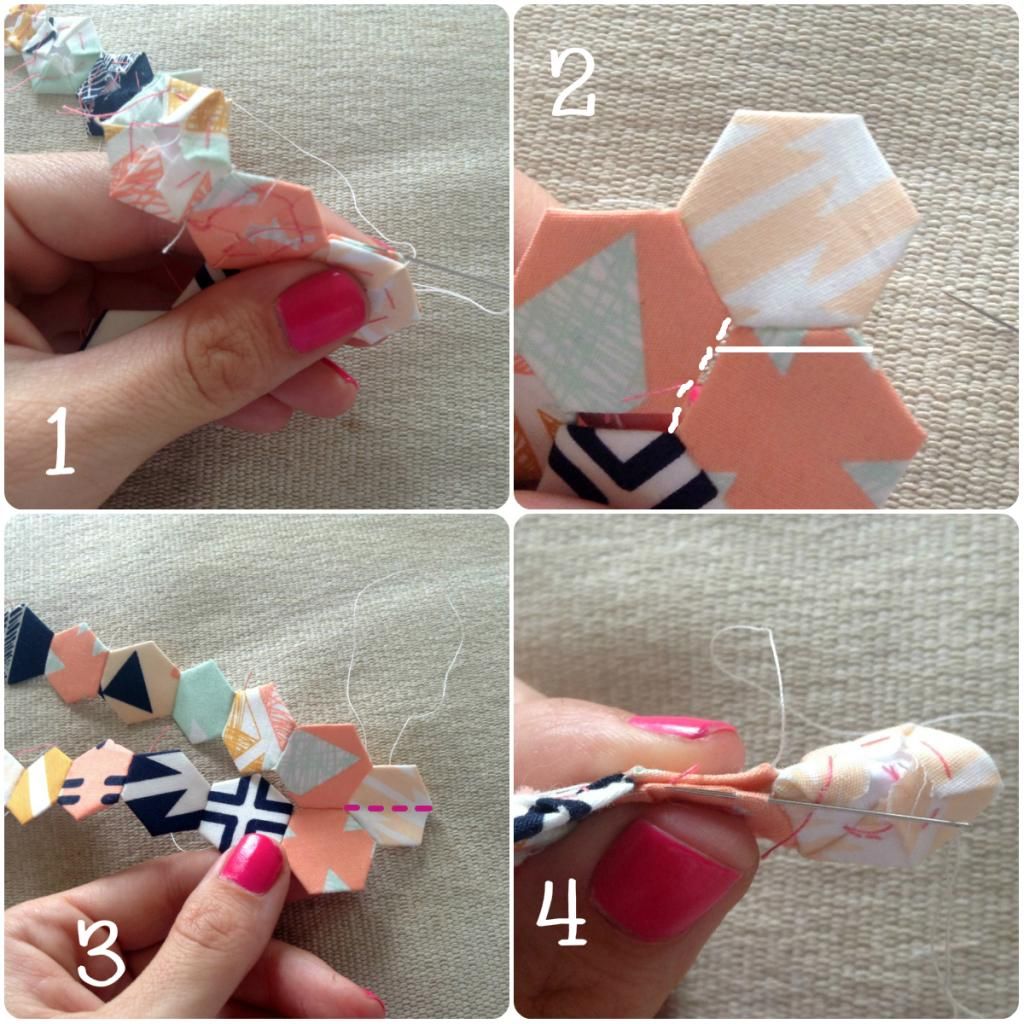 |
| Sewing down the row. Don't be afraid to bend those basted hexagons! |
Continue in this manner until you get to the end of the row. Once you reach the end just knot and tie your thread like you did when you were sewing the single hexies into a row.
You should have something that looks like this:
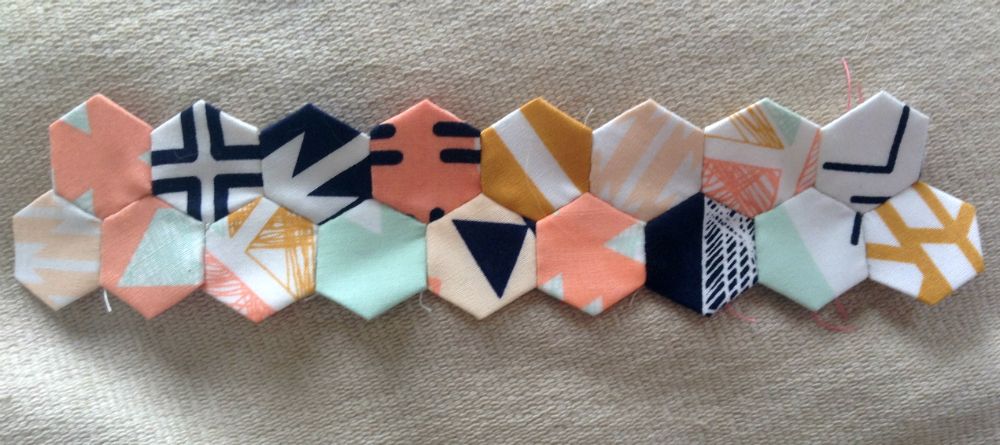 |
| 2 rows sewn together! |
I keep the papers in until I have to remove them because I need more, or until I'm ready to start quilting. You'll see that process in the next installment. For now I'm going to keep sewing rows together until I get a panel large enough for a glasses case!
Here's Picasso helping me with some quality control. As you can see, the hand stitching is holding up nicely!
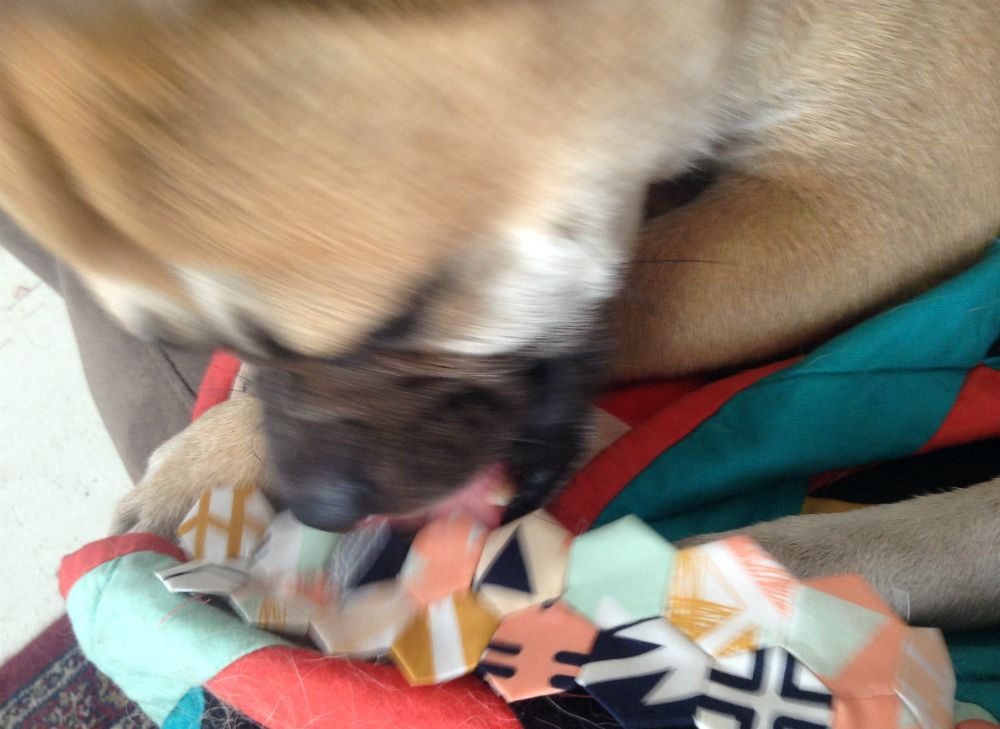 |
| Picasso loves helping me sew. |


I like the quality control part of this process - it seems likely that if it can withstand this check it will last a long time! :)
ReplyDeleteI'm currently sewing rows of hexagons and I appreciate the reminder of how to sew the rows together.
ReplyDelete