


Hope you had a great holiday season! As the end of the year is fast approaching, and I recently read a post by Quilting Jetgirl that outlined her quilting goals for 2015, I thought I'd jump on the bandwagon. I tend to be more accountable when I write down my goals, anyway.
1. Join a quilt guild. I feel as though I've made some bloggy friends, but I'd like to get to know some people who sew in real life!
2. Enter a quilt in a competition. I like sharing my work, and I feel like it would be fun to enter a competition for the experience. I've never really done juried work, and I'd like to learn more about it.
3. Make a quilt pattern. The majority of the quilts I make are inspired by older designs, but are all unique to me. I think it would be fun to make up a pattern for distribution (even if it's only on Craftsy), so that this hobby could start supporting itself.
4. Submit a pattern for a magazine. Like the previous goal, although this one would probably hit a wider audience.
5. Play around more. After all those serious goals, I thought I needed to lighten up! I love the creative process, but have recently been sucked into a few obligations, and/or don't have time to sew for myself. I want the chance to just look at a bundle of fabric and sew whatever it's telling me it should be sewn into!
6. Work on my photography. I love taking pictures and editing the quilty stuff I make almost as much as I like sewing. I think I'd like to improve that skill set though, because many times I just get an OK picture when I could have gotten a great one!
7. Segregate my work from the animals. That is a weird goal, but as my dog is digging through my quilt pile to create a nest I feel as though I should treat my work with a little more respect. I want them to be used and loved, but maybe not shredded. Plus, I always feel bad when I send a bee item or a gift and it's covered in cat hair - after I've lint rolled it for 10 minutes!
8. Sew every day. Right now I only sew a couple times a week, but in marathon sessions. I think if I broke it up more I would enjoy the process a bit more. My old clunker is so loud, sometimes I get a headache after a day of sewing.
9. New machine! I hesitate to buy a new machine when my old one is decent, but I think I've finally progressed to the point where I can justify a new machine. It would help me with my piecing accuracy, and I'd be able to start learning to free motion quilt.
10. Learn how to serge. My mom gave me her old serger, now I need to sit down and take advantage of it. I'd have the best finished seams in town! Plus, my new obsession with sewing knits would become much easier.
1. Join a quilt guild. I feel as though I've made some bloggy friends, but I'd like to get to know some people who sew in real life!
2. Enter a quilt in a competition. I like sharing my work, and I feel like it would be fun to enter a competition for the experience. I've never really done juried work, and I'd like to learn more about it.
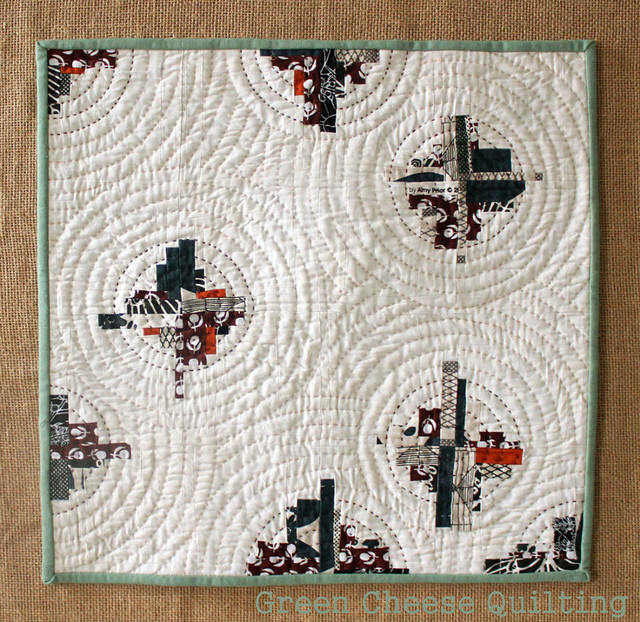 |
| Broken Umbrellas quilt. If it wasn't so small I would have tried entering it somewhere! |
3. Make a quilt pattern. The majority of the quilts I make are inspired by older designs, but are all unique to me. I think it would be fun to make up a pattern for distribution (even if it's only on Craftsy), so that this hobby could start supporting itself.
4. Submit a pattern for a magazine. Like the previous goal, although this one would probably hit a wider audience.
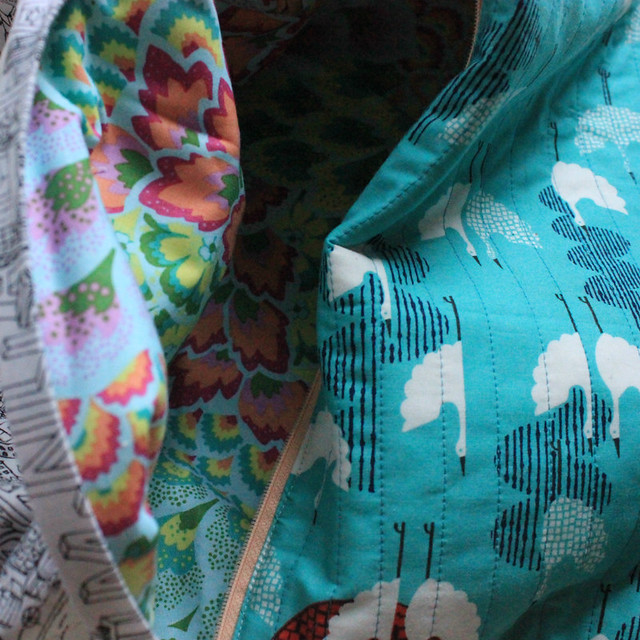
5. Play around more. After all those serious goals, I thought I needed to lighten up! I love the creative process, but have recently been sucked into a few obligations, and/or don't have time to sew for myself. I want the chance to just look at a bundle of fabric and sew whatever it's telling me it should be sewn into!
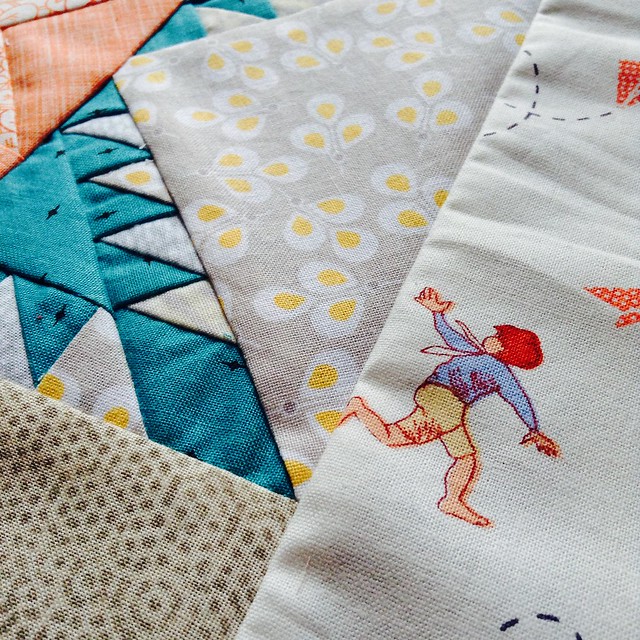 |
| Part of my RTQ center. |
6. Work on my photography. I love taking pictures and editing the quilty stuff I make almost as much as I like sewing. I think I'd like to improve that skill set though, because many times I just get an OK picture when I could have gotten a great one!
7. Segregate my work from the animals. That is a weird goal, but as my dog is digging through my quilt pile to create a nest I feel as though I should treat my work with a little more respect. I want them to be used and loved, but maybe not shredded. Plus, I always feel bad when I send a bee item or a gift and it's covered in cat hair - after I've lint rolled it for 10 minutes!
8. Sew every day. Right now I only sew a couple times a week, but in marathon sessions. I think if I broke it up more I would enjoy the process a bit more. My old clunker is so loud, sometimes I get a headache after a day of sewing.
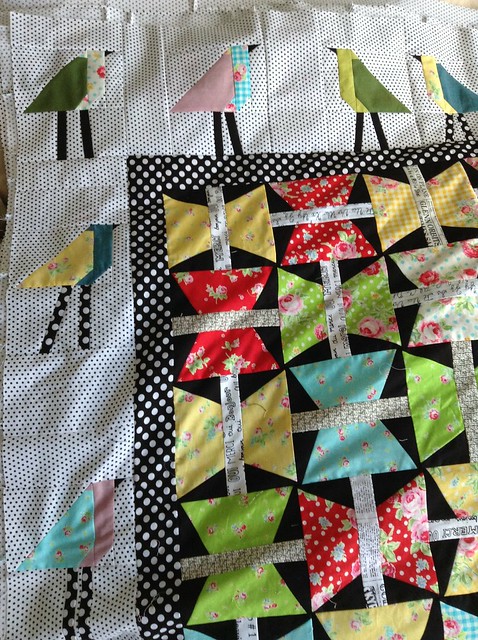 |
| The last project that was for me. It's been basted and waiting for months! |
9. New machine! I hesitate to buy a new machine when my old one is decent, but I think I've finally progressed to the point where I can justify a new machine. It would help me with my piecing accuracy, and I'd be able to start learning to free motion quilt.
10. Learn how to serge. My mom gave me her old serger, now I need to sit down and take advantage of it. I'd have the best finished seams in town! Plus, my new obsession with sewing knits would become much easier.